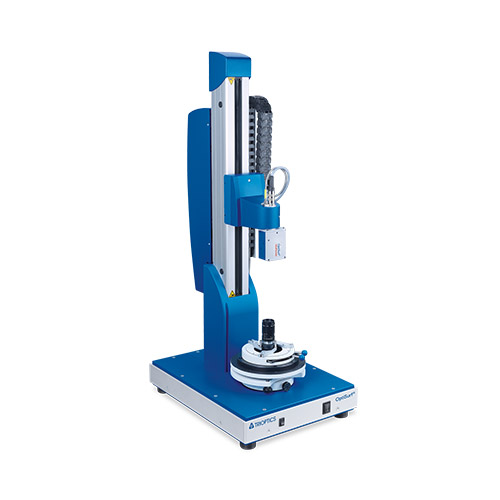
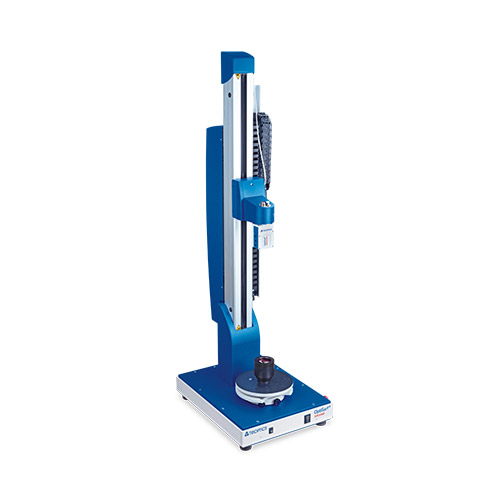
With an accuracy of up to 0.15 µm, the measurement results meet the highest demands. Lens surfaces and surface distances are automatically identified respectively calculated.
The non-contact test method using short coherence is particularly gentle on the material and flexible. Thus, measurements of UV, VIS and IR specimens even with anti-reflection coating are possible.
The innovative adjustment, the variable sample holder and the software simplify the alignment of the sample to the measuring axis. This means that only little training is required.

Measurement accuracy of up to 1 µm
Measurement head with automatic focusing
Integrated visual laser beam for preliminary alignment of the sample

Measurement accuracy of 0.15 µm
Measurement head with automatic focusing
With temperature and air pressure sensors
Integrated visual laser beam for preliminary alignment of the sample

Measurement accuracy of 5 µm
Measurement head with automatic focusing
Optional combination with OptiCentic® IR for full alignment control of IR lens systems
Integrated visual laser beam for preliminary alignment of the sample

Single sensor with delay line for integration in non-TRIOPTICS measurement systems
Measurement head with automatic focusing

Supports the intuitive handling, alignment and measurement process
Automated surface identification for quick and precise measurements
Automated evaluation and identification of deviations by means of a pass/fail analysis
Product-specific quality control through the statistical analysis of measurement results
Easy input of sample data directly via Zemax, OptiCentric® or via a design editor

| Parameter | OptiSurf® | OptiSurf® Ultra Precision | OptiSurf® IR2) |
| Measurement accuracy | 1 µm 1) | 0.15 µm 1) | Micrometer range 3) |
| Repeatability | 0.5 µm | <0.075 µm | Micrometer range 3) |
| Wavelength of the light source | 1.3 µm | 1.3 µm | 2.2 µm |
| Scanning range | Up to 800 mm optical distance, larger on request | Up to 800 mm optical distance, larger on request | Up to 400 mm optical distance, larger on request3) |
| Sensors for temperature and air pressure |
Option | Included | Option |
| Computer interface | USB | USB | USB |
| Camera-based alignment tool | Option | Yes | No |
| Laser class | 1 | 1 | 1 |
| Dimensions (h x w x d) | 965 mm … 1,240 mm x 370 mm x 560 mm | 965 mm … 1,240 mm x 370 mm x 560 mm | 965 mm … 1,240 mm x 370 mm x 560 mm |
| Weight | 50kg | 50kg | 50kg |
| Type | Table top device | Table top device | Table top device |
1) According to 2σ criterion for measuring 100 mm air gap between optical flats
2) Available in combination with OptiCentric only
3) Depends on sample
Optical alignment tool for the quick and easy alignment of the sample and the measurement head integrated in the instrument base
Certified 0.5“ reference sample, traceable to international standards
Low-coherence interferometers are used in optics to measure the center thickness and air gaps of lenses against each other, in other words the positions of optical surfaces along the optical axis can be determined. As such, low-coherence interferometry is an ideal complement to centration measurement (link to centration measurement), in which the positions of the centers of curvature are determined in the x/y direction. By combining both methods, it is possible to determine the absolute position of each surface in a mounted objective lens. TRIOPTICS products for this application: OptiCentric® 3D, OptiCentric® 3D Dual.
At the same time, centration measurement is also a prerequisite for the highly accurate measurement of center thickness and air gaps, since they can be used to determine
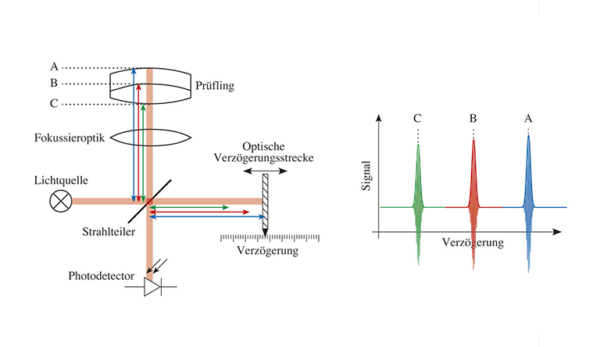
The design of a low-coherence interferometer, as implemented by TRIOPTICS in the OptiSurf®system is described in Fig. 1. The light from a low-coherence light source is divided by a beam splitter into an object beam and a reference beam.
The object beam illuminates the lens system along its optical axis. A fraction of the incoming light beam is reflected back at each surface of the sample. This light is superimposed on a photo detector with the light from the reference arm. The light in the reference arm is varied by means of a delay section in the time span.
The length of the reference arm is varied by means of a movable mirror, and measured using an laser interferometer. When the resulting intensity of the back-reflected reference beam and object beam are analyzed as a function of the change in length/delay of the reference arm (Fig. right) then interference patterns are always observed when the optical path lengths coincide in the two interferometer arms. Thus, the position of each surface of the sample can be determined mathematically.

Operating principle of a low-coherent interferometer