With a measuring speed of 1.3 seconds per sample, the ImageMaster® PRO 10 sets the standards in MTF measurement and increases your return on investment.
The MTF measurement accuracy of 1.5 % is worldwide top and traceable to international standards.
Reliable measuring instruments are indispensable, especially in mass production. The ImageMaster® PRO 10 with its sophisticated hardware and software impresses with its performance.
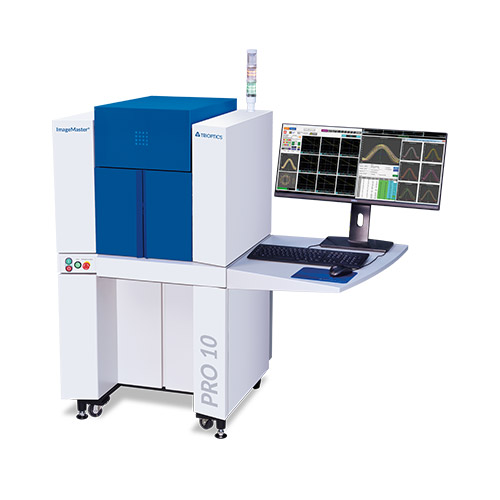
Measurement accuracy of 0.8 % MTF on-axis and 1.5 % MTF off-axis
Measurement time of 1.3 seconds per sample (2700 UPH)
Up to 53 measurement points in 27 field positions (cameras)
Maximum Field of View 215° (optional)
Measurement traceable to international standards
Cleanroom compatible
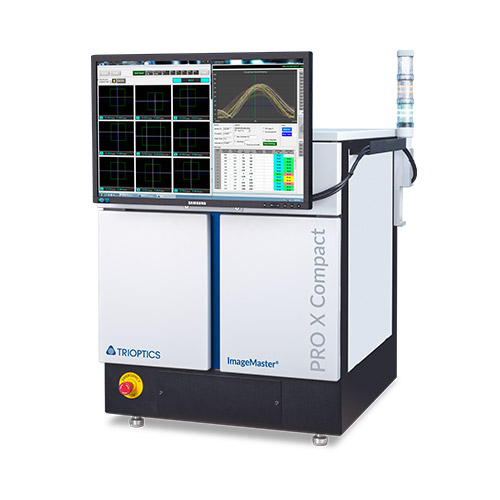
Measurement accuracy of 1.0 % MTF on-axis and 2.0 % MTF off-axis
Measurement time of 1.5 seconds per sample (2400 UPH)
Up to 49 measurement points in 25 field positions (cameras)
Maximum Field of View 215° (optional)
Table-top device
Measurement traceable to international standards
Cleanroom compatible
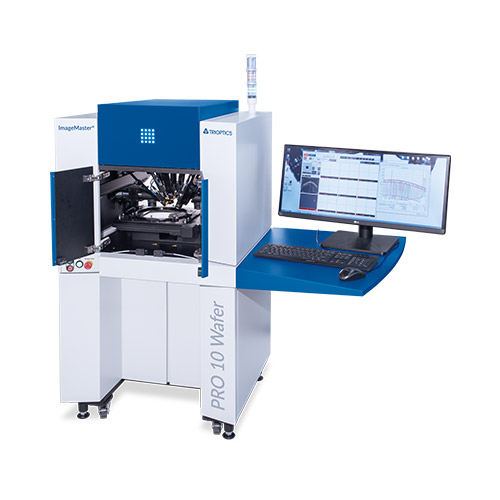
Measurement accuracy of 0.8 % MTF on-axis and 1.5 % MTF off-axis
Measurement time of 1.3 seconds per sample (2700 UPH)
Wafer bow and high precision FFL measurement
Wafer size: up to 8” / 200 mm (rectangular or circular)
Tilt correction function (bow compensation)
Easy loading due to kinematic mount and wafer rotation and shift adjustment tool
Measurement traceable to international standards
Cleanroom compatible
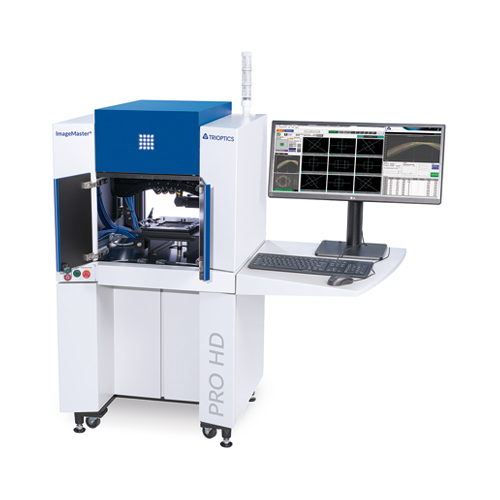
Measurement accuracy of 0.8 % MTF on-axis and 1.5 % MTF off-axis
Measurement time of 1.8 seconds per sample (2000 UPH)
Up to 85 measurement points in 43 field positions (cameras)
No more local performance drops due to complete field (FOV) coverage. Lenses with quality weaknesses are detected at an early stage
New dome type with fixed camera positions
Plug and Play Dome: easy change of the dome for different DUTs
Measurement traceable to international standards
Cleanroom compatible
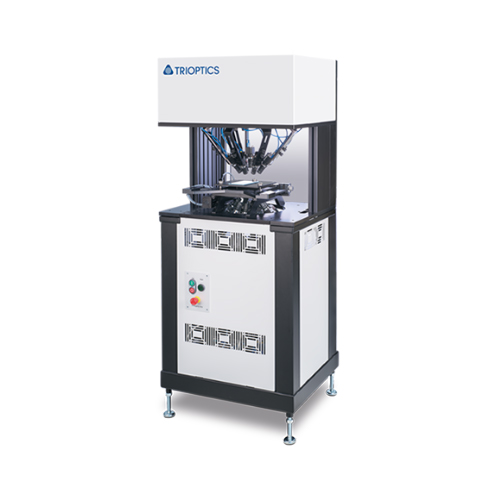
Measurement accuracy of 3.0 % MTF on-axis and 3.0 % MTF off-axis
Measurement time of 1.0 seconds per sample (one shot)
MTF characterization in mass production of smartphone and tablet displays
Sample dimensions up to 11“diagonal of the display (tablets with 12“ and 13“ on request)
Open design enables easy integration in automated production lines
Measurement traceable to international standards
Cleanroom compatible
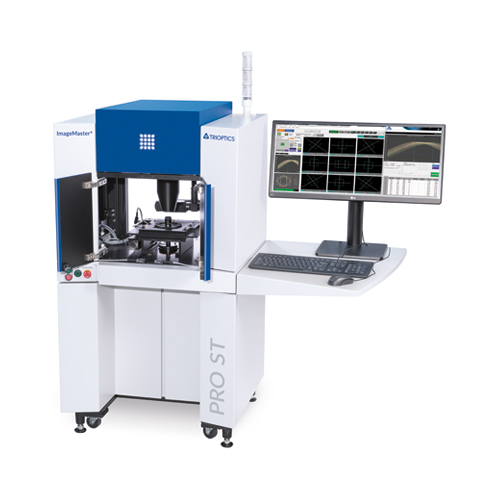
Measurement accuracy of 2.0 % MTF on-axis and 3.0 % MTF off-axis
Measurement time of 1.8 seconds per sample
Up to 99 measurement points in 50 field positions (virtual cameras)
New type of single telescope measurement technology
Less hardware components needed (number of cameras, cables, holders)
Easy setup & adjustment
Measurement traceable to international standards
Cleanroom compatible
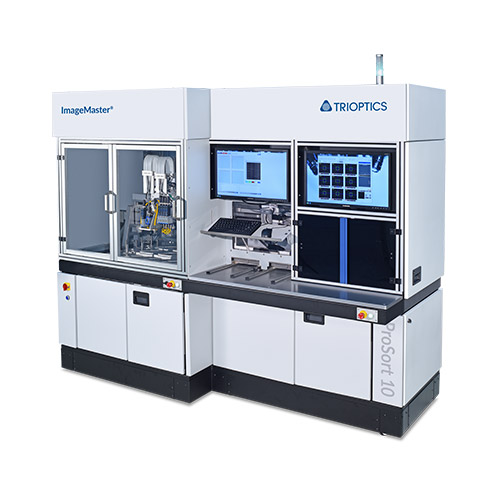
Automated sorting process into four different quality classes for camera lenses of mobile phones, mass production of consumer optics and lens components in an isolated production cell
Together with ImageMaster® PRO 10, the sorting time per sample is 1.5 sec with four grippers
Units per hour (UPH) 2400
Measurement traceable to international standards
Cleanroom compatible
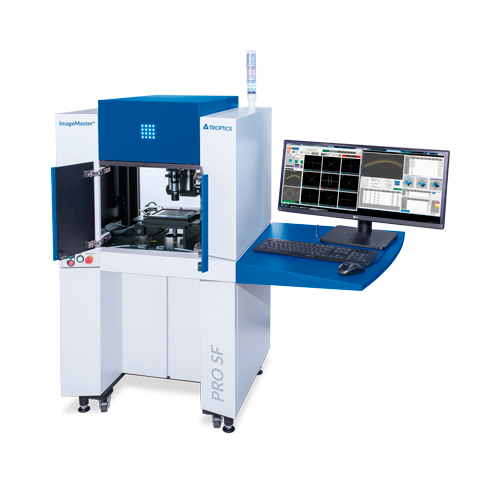
Finite distances of up to < 1 mm (< 1 mm – 40 mm)
Setting of the finite distance with < 5 µm accuracy and < 1 µm resolution
Large field of view (up to 140° FOV possible after individual clarification)
Up to 99 measurement points in 50 field positions (virtual cameras)
Measurement time of 2.0 seconds per sample
Measuring frequency up to 350lp/mm
Wafer variants on request (6“ & 8“ Wafer)
Measurement traceable to international standards
Cleanroom compatible

MTF on and off axis
MTF at best lens performance (tilt correction)
Multi frequency MTF measurement
Effective Focal Length (EFL)
Flange Focal Length (FFL)
Field curvature
Tilt of image plane
Depth of Focus DOF
Best focus position
Astigmatism
Relative distortion
Automatic pass or fail results based on a multitude of freely selectable criteria
Software enabling real-time images of all cameras
Individual setting of spatial frequencies for each camera
Settings to enable focusing curve for on-axis and/or off-axis cameras
Three security levels: setup files and critical functions are password protected
Storage of lens and batch data, data analysis via Excel
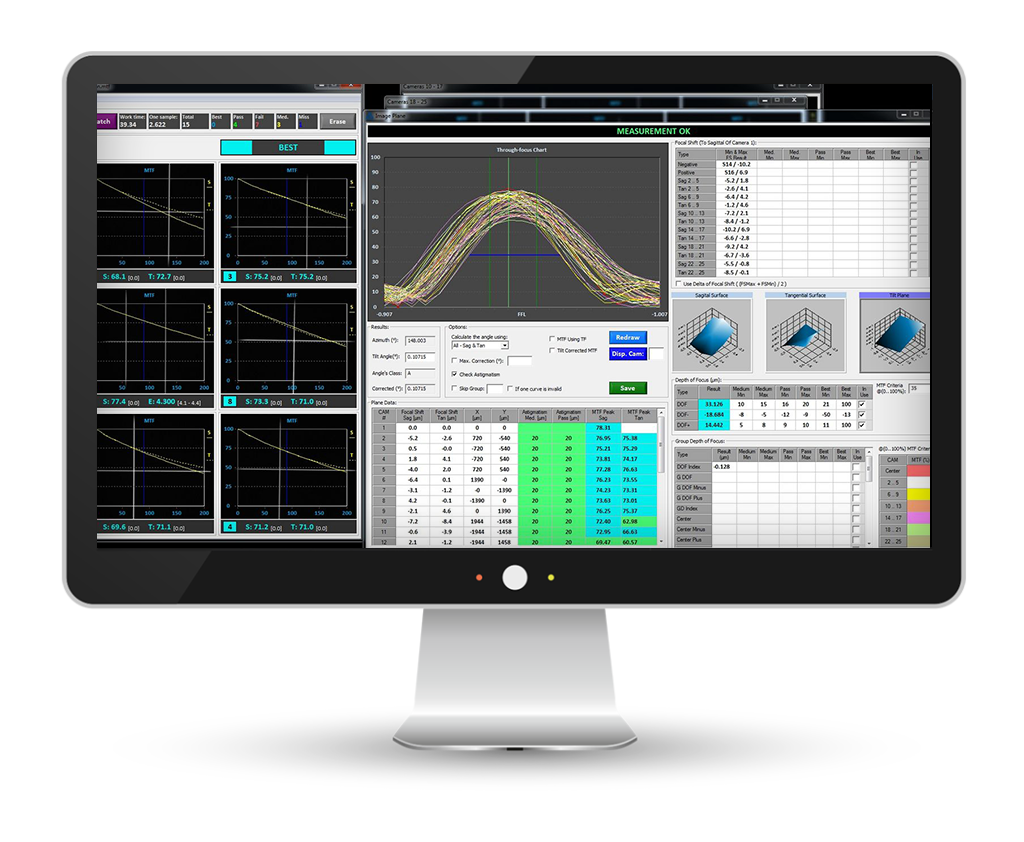
Intuitive graphical representation of the measurement data in order to detect lenses out of specification at an early stage
Polar diagram for displaying MTF symmetry in image field
| Parameter | ImageMaster® PRO 10 |
ImageMaster® PRO X Compact |
ImageMaster® PRO Sort 10 |
ImageMaster®® PRO 10 Wafer |
ImageMaster® PRO SF |
| Type | Stand alone | Table top device | Stand alone | Stand alone | Stand alone |
| Optical set up | Infinite-finite conjugates | Infinite-finite conjugates | Infinite-finite conjugates | Infinite-finite conjugates | Finite conjugates |
| Spectral range | 450 nm … 750 nm, halogen (NIR/NUV optional) | LWIR: 8 µm … 12 µm | VIS /NIR NUV optional |
NIR, NUV, LWIR: 8 µm … 12 µm VIS: 0.4 µm … 0.9 µm MWIR : 3 µm … 5 µm SWIR: 0.9 µm … 1.7 µm on request |
- |
| Max. spatial frequency | 600 lp/mm | 600 lp/mm | 600 lp/mm | 400 lp/mm | 350 lp/mm |
| Accuracy MTF on-axis | 0.8 % MTF (up to 350 lp/mm)1) | 1 % MTF (up to 250 lp/mm)1) | 0.8 % MTF (up to 350 lp/mm)1) | 0.8 % MTF (up to 350 lp/mm)1) | 2 % MTF (up to 200 lp/mm)1) |
| Accuracy MTF off-axis | 1.5 % MTF (up to 350 lp/mm)1) | 2 % MTF (up to 250 lp/mm)1) | 1.5 % MTF (up to 350 lp/mm)1) | 1.5 % MTF (up to 350 lp/mm)1) | 3 % MTF (up to 200 lp/mm)1) |
| Accuracy EFL (Effective Focal Length) |
4 µm | 4 µm | 4 µm | 5 µm | - |
| Accuracy FFL (Flange Focal Length) |
4 µm | 5 µm | 4 µm | 4 µm | 4 µm |
|
Measurement time display on axis |
1.3 sec/sample | 1.5 sec/sample | 1.3 sec/sample | 1.3 sec/sample2) | 2.0 sec/sample2) |
|
Measurement time display all off axis curves |
1.3 sec/sample | 1.5 sec/sample | 1.3 sec/sample | 1.3 sec/sample2) | 2.0 sec/sample2) |
| Sorting time per sample | - | - | 1.5 sec (4 grabber) | - | - |
|
Throughput of samples (Units per hour) |
2,700 UPH3) | 2,400 UPH4) | 2,100 UPH4) | 2,400 UPH4) | 1,700 UPH4) |
| Measurement points |
53 (27 field positions / cameras) |
49 (25 field positions / cameras) |
53 (27 field positions / cameras) |
53 (27 field positions / cameras)2) | > 53 (27 field positions / cameras)2) |
|
Dimensions (height x width x depth) |
1,570 mm x 1,340 mm x 810 mm | 905 mm x 620 mm x 650 mm | 1,900 mm x 2,320 mm x 900 mm | 1,570 mm x 1,340 mm x 810 mm | 1,570 mm x 1,340 mm x 810 mm |
| Weight | 240 kg | 92 kg | 700 kg | 240 kg | 240 kg |
|
Size of sample holder / scan table travel |
Tray 150 mm x 150 mm | Tray 150 mm x 150 mm | Tray 150 mm x 150 mm | Tray 220 mm x 220 mm | Tray 150 mm x 150 mm |
| Sample holder / trays |
3 point kinematic mount tray with certified reference flatness |
3 point kinematic mount tray with certified reference flatness |
3 point kinematic mount tray with certified reference flatness |
3 point kinematic mount tray with certified reference flatness |
3 point kinematic mount tray with certified reference flatness |
| Sample quality classes | 4 quality classes | 4 quality classes | 4 quality classes | 4 quality classes | 4 quality classes |
|
Cleanroom class FS 209 / ISO14644-1 |
100 / ISO 5 | 1,000 / ISO 5 | 100 / ISO 5 | 100 / ISO 5 | 100 / ISO 5 |
| Light source | halogen light source (white LED optional) |
white LED | halogen light source (white LED optional) |
halogen light source (white LED optional) |
halogen light source (white LED optional) |
| Filter |
VIS (NIR Optional) - all filters ossible - Standard Photopic Eye Filter |
VIS (NIR Optional) - all filters ossible - Standard Photopic Eye Filter |
VIS (NIR Optional) - all filters ossible - Standard Photopic Eye Filter |
VIS (NIR Optional) - all filters ossible - Standard Photopic Eye Filter |
VIS (NIR Optional) - all filters ossible - Standard Photopic Eye Filter |
| ACM | mounted Autocollimator | Exchangeable Autocollimator | mounted Autocollimator | mounted Autocollimator | mounted Autocollimator |
1) Accuracy is measured on MTF peak values
2) Depending on the sample
3) 10 seconds for changing trays, 1 tray includes 148 samples
4) 1 tray including 148 samples / tray changing time 5 sec.
| Parameter | ImageMaster® PRO HD | ImageMaster® PRO ST | ImageMaster® PRO Display |
| Type | Stand alone | Stand alone | Stand alone |
| Optical set up | Infinite conjugates | Infinite conjugates | Infinite conjugates |
| Max. spatial frequency | 600 lp/mm | 125 lp/mm | 60 lp/deg |
| Accuracy MTF on-axis | 0.8 % MTF (up to 200 lp/mm)1) | 2.0 % MTF (up to 125 lp/mm)1)3) | 3.0 % MTF (up to 200 lp/mm)1) |
| Accuracy MTF off-axis | 1.5 % MTF (up to 200 lp/mm)1) | 3.0 % MTF (up to 125 lp/mm)1)3) | 3.0 % MTF (up to 200 lp/mm)1) |
|
Accuracy EFL (Effective Focal Length) |
4 µm | 4 µm | - |
| Accuracy FFL (Flange Focal Length) |
- | - | - |
|
Measurement time display on axis |
1.8 sec/sample2) | 1.8 sec/sample2) | 1.0 sec/sample2) |
|
Measurement time display all off axis curves |
1.8 sec/sample2) | 1.8 sec/sample2) | 1.0 sec/sample2) |
| Sorting time per sample | - | - | - |
|
Throughput of samples (Units per hour) |
2,000 UPH3) | 2,000 UPH4) | Dependent on sample load and unload process by customer |
| Measurement points | > 85 (43 field positions / cameras) 2) | > 99 (50 field positions / cameras) 2) | 13 (26 field positions / cameras) 2) |
|
Dimensions (height x width x depth) |
1,570 mm x 1,340 mm x 810 mm | 1,570 mm x 1,340 mm x 810 mm | 1,570 mm x 550 mm x 600 mm |
| Weight | 240 kg | 240 kg | 240 kg |
|
Size of sample holder / scan table travel |
Tray 150 mm x 150 mm | Tray 150 mm x 150 mm | Tray 150 mm x 150 mm |
| Sample holder / trays |
3 point kinematic mount tray with certified reference flatness |
3 point kinematic mount tray with certified reference flatness |
3 point kinematic mount tray with certified reference flatness |
| Sample quality classes | 4 quality classes | 4 quality classes | 4 quality classes |
|
Cleanroom class FS 209 / ISO14644-1 |
100 / ISO 5 | 100 / ISO 5 | 100 / ISO 5 |
| Light source | halogen light source (white LED optional) |
halogen light source (white LED optional) |
halogen light source (white LED optional) |
| Filter |
VIS (NIR Optional) - all filters possible - Standard Photopic Eye Filter |
VIS - Standard Photopic Eye Filter | VIS - Standard Photopic Eye Filter |
| ACM | mounted Autocollimator | mounted Autocollimator | mounted Autocollimator |
1) Accuracy is measured on MTF peak values
2) Depending on the sample
3) With a Sample EFL: 25 mm, F#: 4.2
Upgrades for field extension: Upgrade from
ImageMaster® PRO 10 with 9 cameras to
ImageMaster® PRO 10 with up to 27 cameras
Camera and objective exchange sets for measurement
range extensions
Upgrade finite MTF testing between 20mm and 150mm
object distance
FFL distance sensor
Barcoder reader
NIR and IR-light source
Teledome /Double Teledome
Finite – Finite plane and sphere from 300 mm to infinity
Variety of trays
Additional reticles in kinematic mount
Option for infinity adjustment
Spare part kits
Are you interested in MTF measurement? Learn more in the Knowledge Base of ImageMaster® HR & Universal!
Go to Knowledge Base ImageMaster® HR & Universal